Here's a step-by-step documentation for the Top1 Talent Pipeline Workflow in the Turiyaskills app.
Top1 Talent Pipeline Workflow - Step-by-Step Guide
1. Creating a New Job and Uploading Job Description (JD)
- Navigate to the Job Creation page in the Top1 module.
- Click on "Create New Job" to initiate the process.
- Upload the Job Description (JD) file (PDFformat).
- The AI Parser Engine processes the uploaded JD and extracts relevant details such as:
- Job Title
- Job Description
- Required Skills
- Experience Level
- Location
- Industry & Domain
- Preferred Qualifications
- The extracted data is automatically populated into the Job Table.
- The frontend UI updates dynamically with the refreshed job data.
- The system also suggests appropriate job posting channels based on:
- Extracted job title, skills, and description.
- Historical hiring trends and candidate sourcing insights.
- The user reviews the extracted information and modifies if necessary.
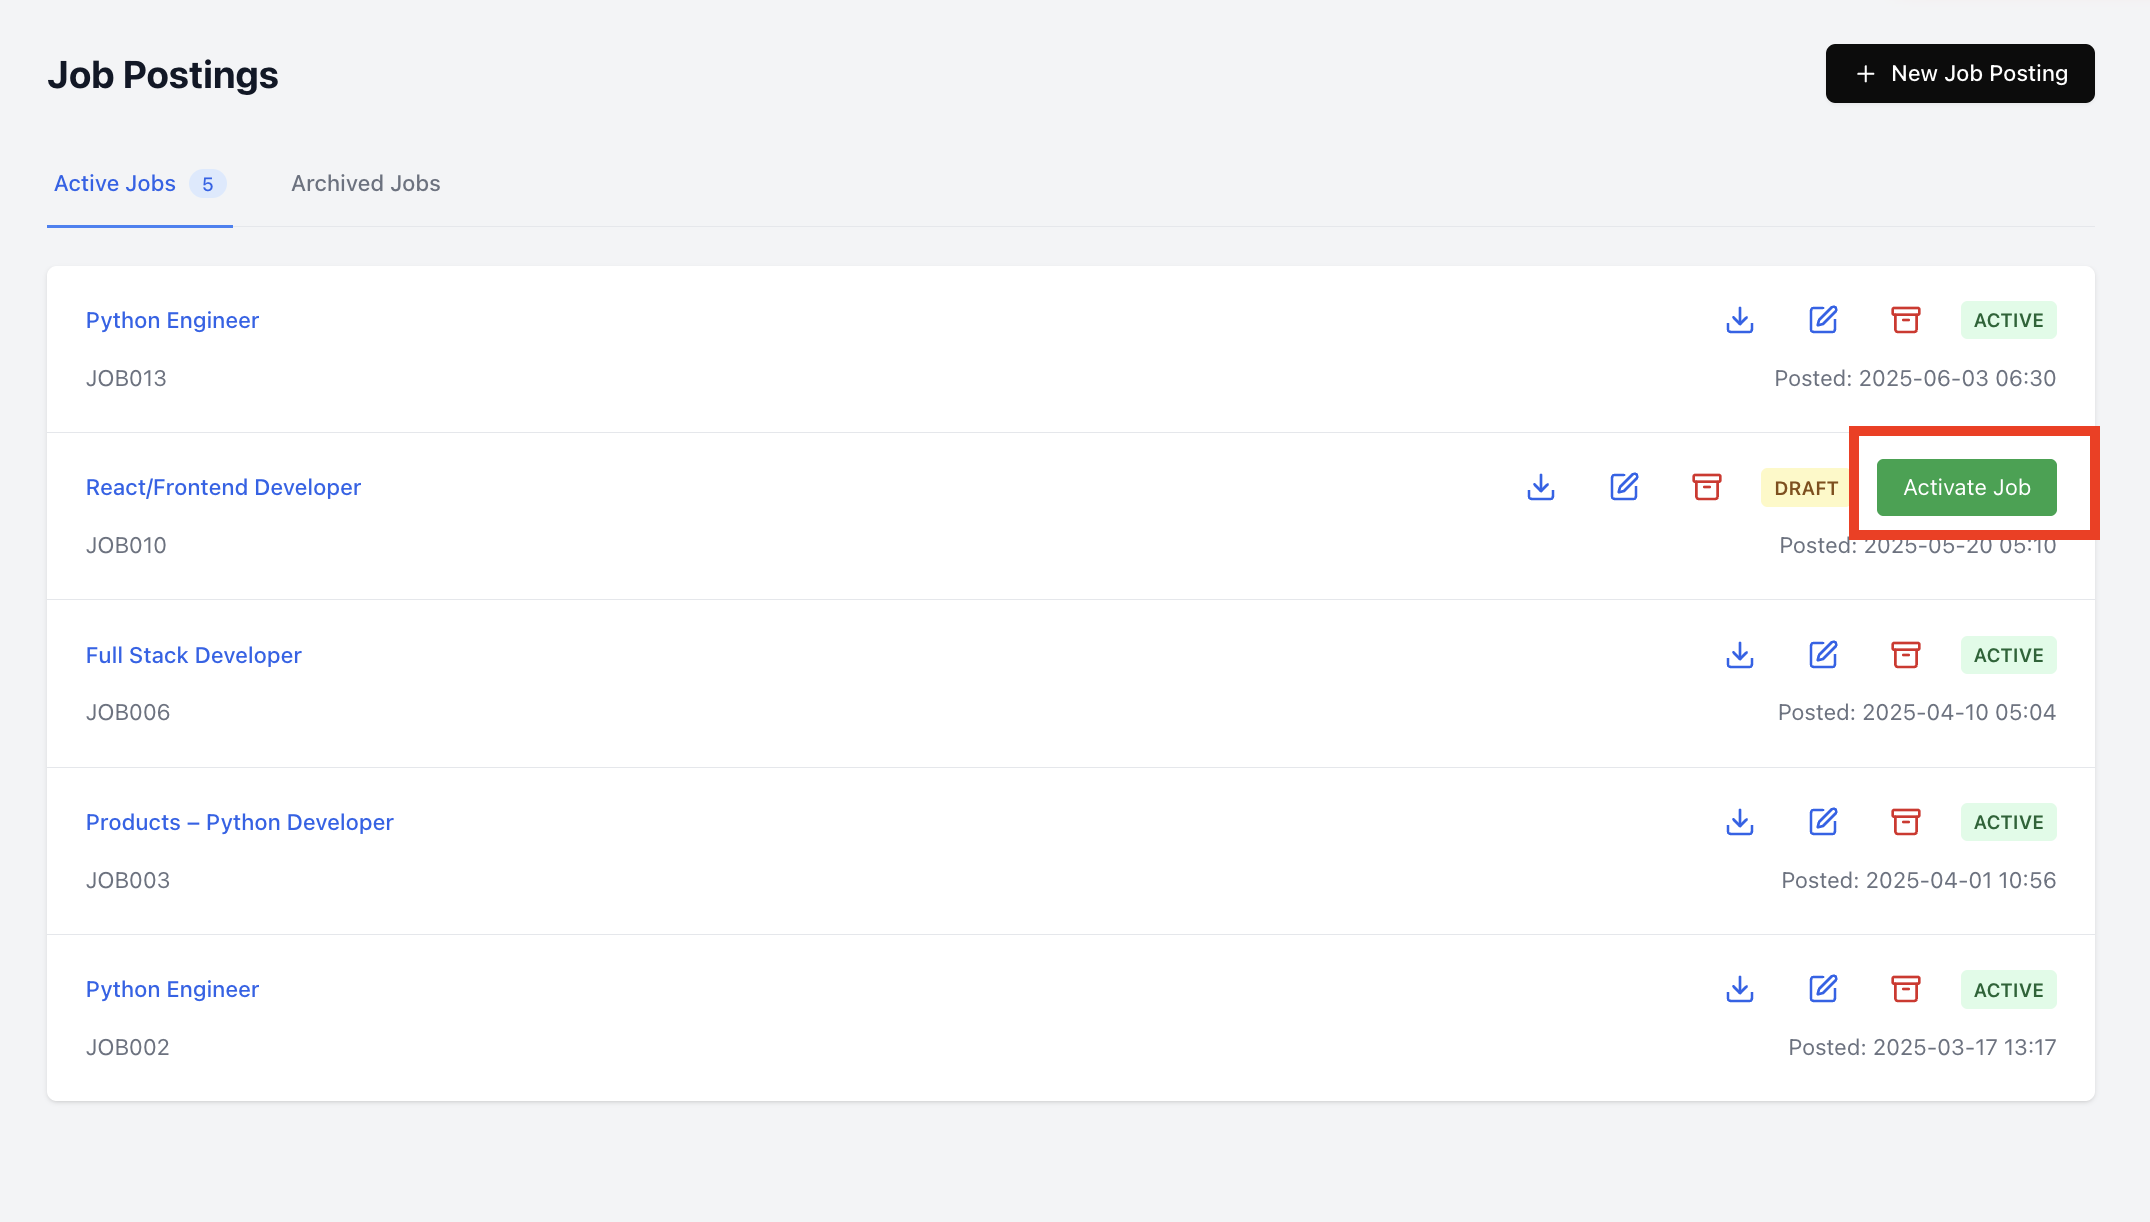
- Click "Save Job Details" to finalize the job creation and "Activate" the Job in the Jobs Listing page
2. Parsing and Matching Resumes Against the JD
- Navigate to the Resume Parsing section.
- Select the recently created job from the job list.
- Upload multiple resumes in bulk (PDF format).
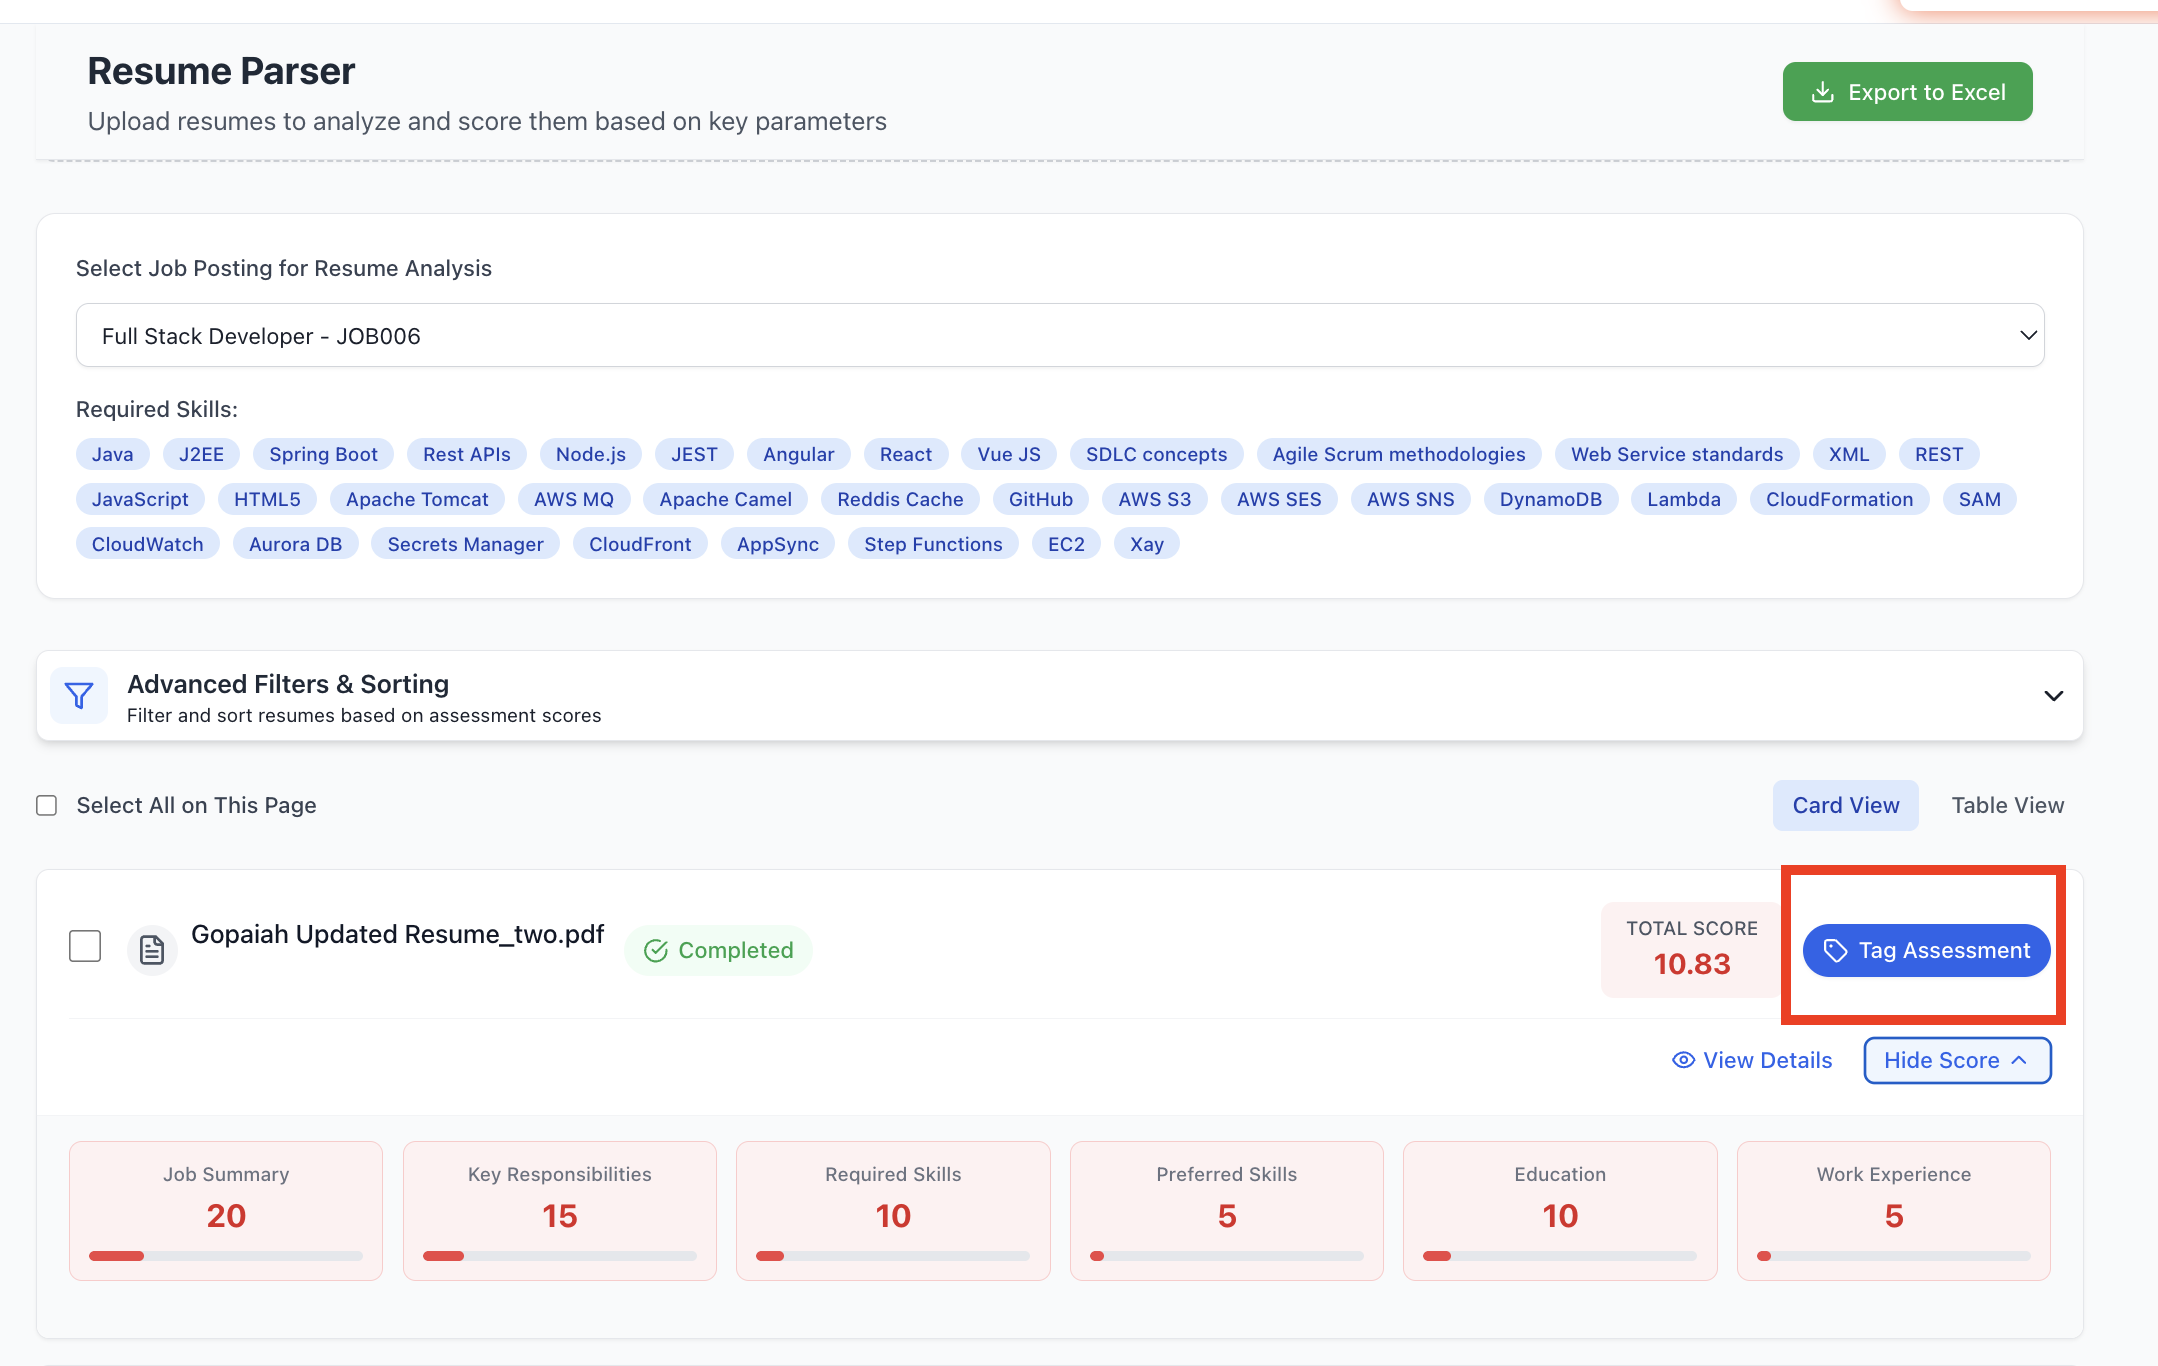
- The AI Resume Parser Engine processes resumes to:
- Extract candidate details (Name, Contact, Experience, Skills, Education, etc.).
- Match each resume with the JD details.
- Score each candidate based on the match percentage.
- Candidates are filtered based on a predefined threshold score.
- Users can:
- Shortlist candidates who meet the criteria.
- Reject candidates below the threshold.

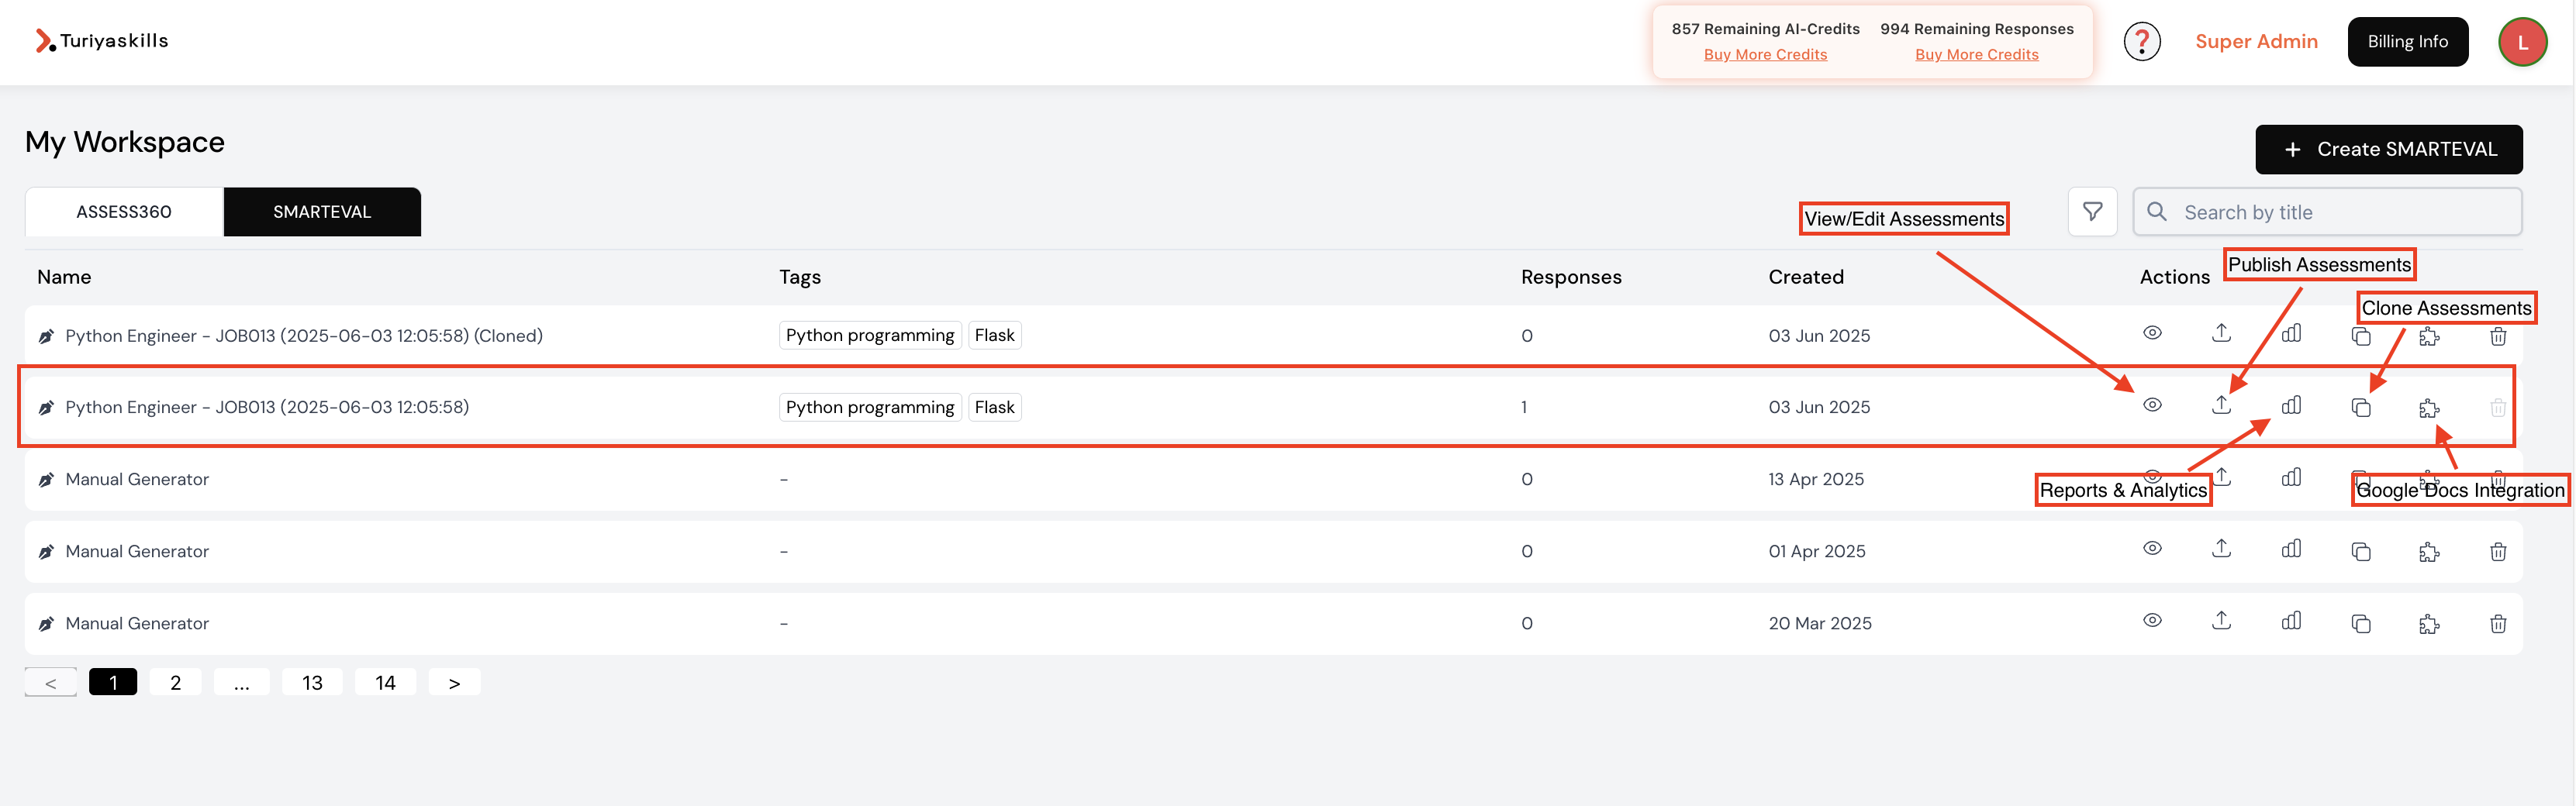
3. Tagging SMARTEVAL Assessments for Qualified Candidates
- Choose an appropriate assessment relevant to the job role.
- Tag the shortlisted candidates to the SMARTEVAL assessment.
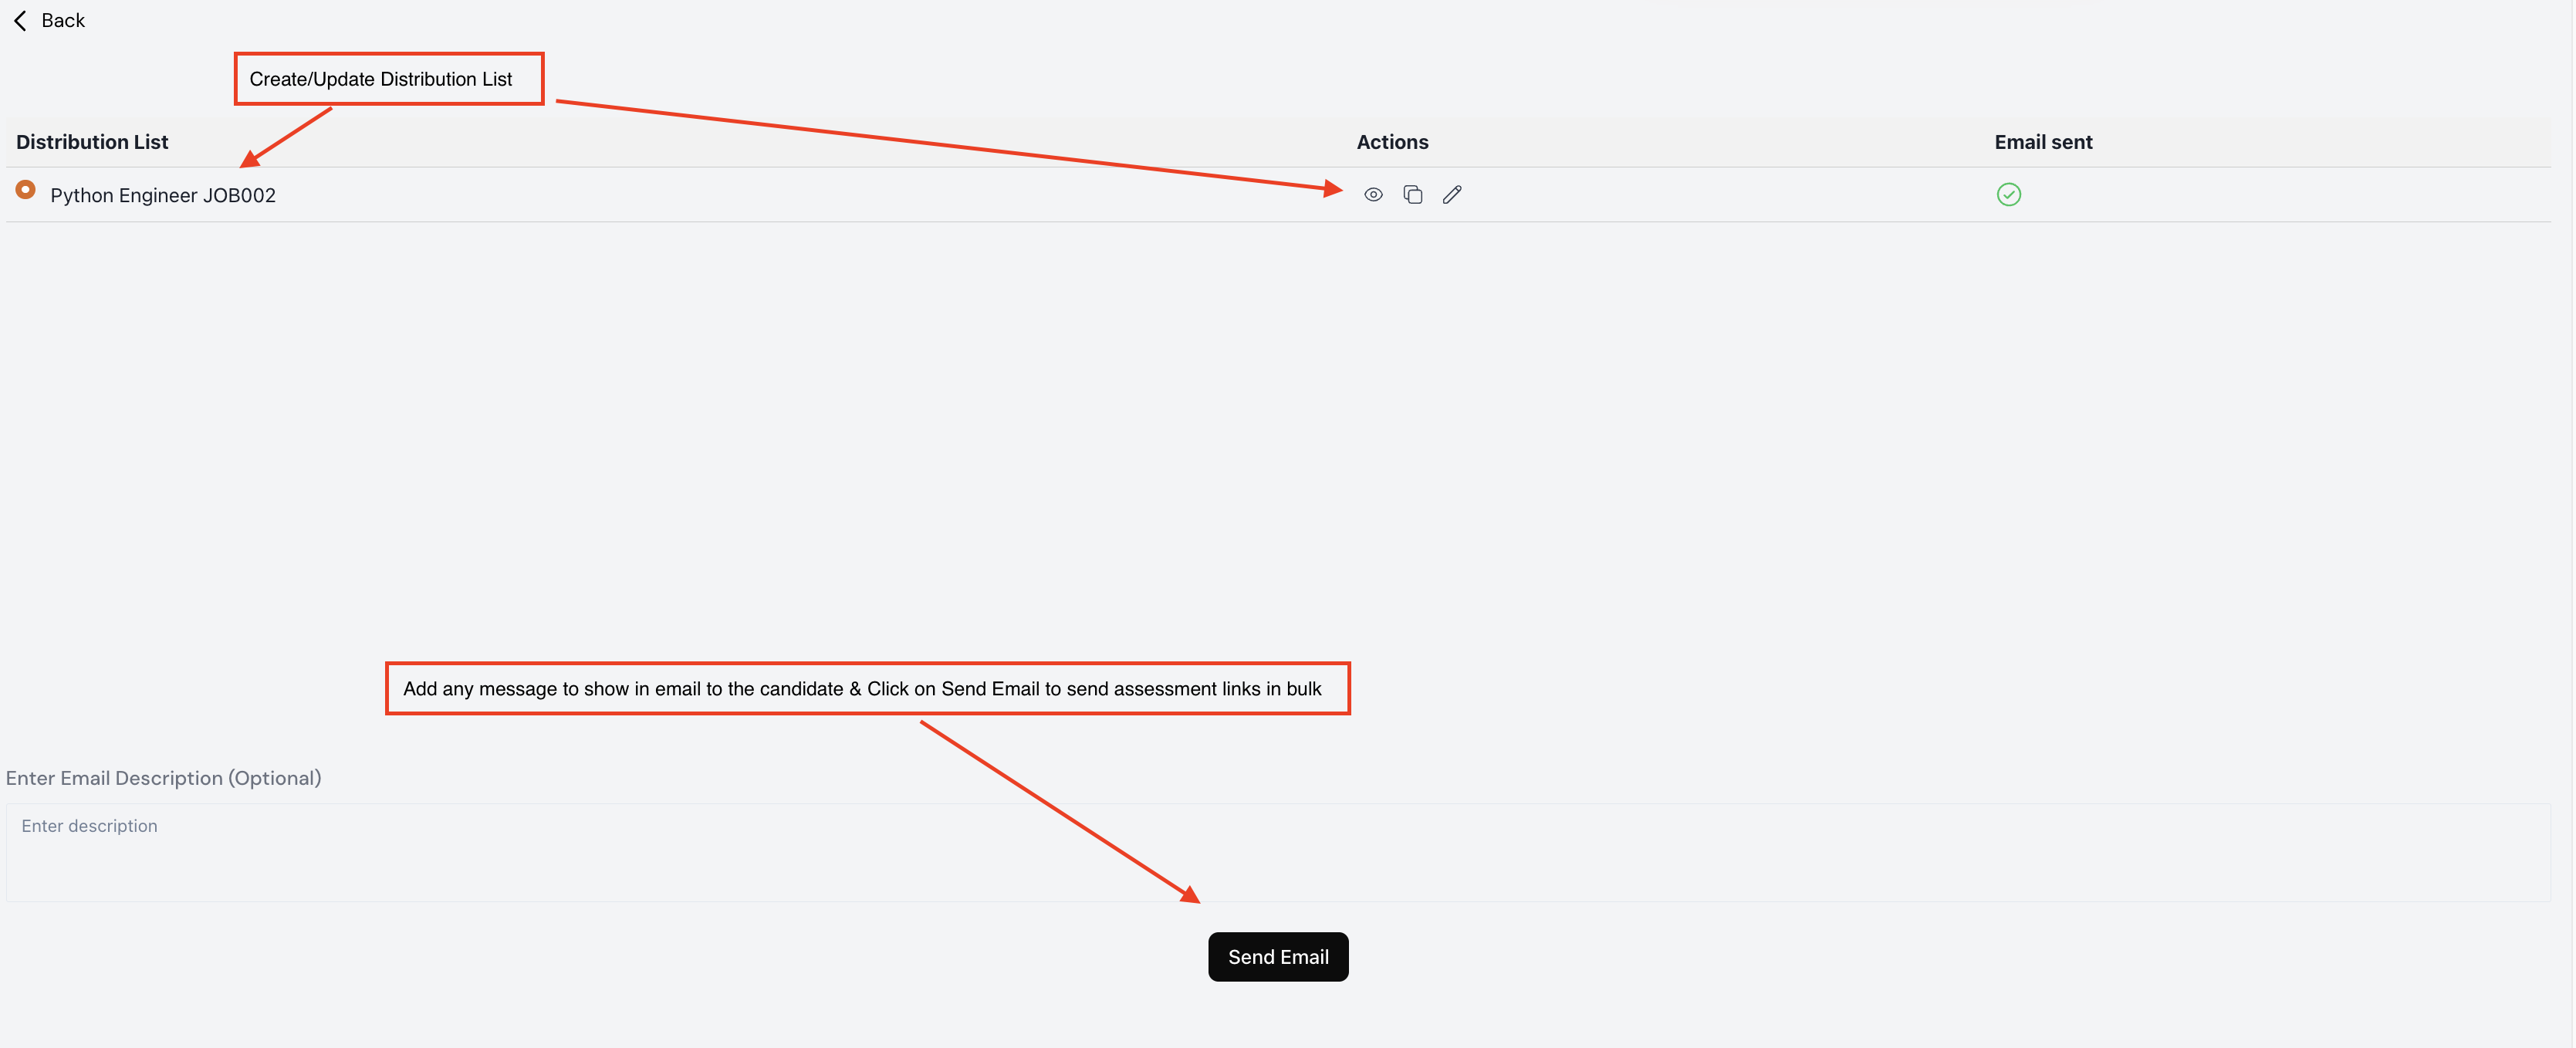
- The system updates the Distribution List with selected candidates for the corresponding SMARTEVAL Assessment.
- Click "Proceed to Publish" to configure assessment settings.
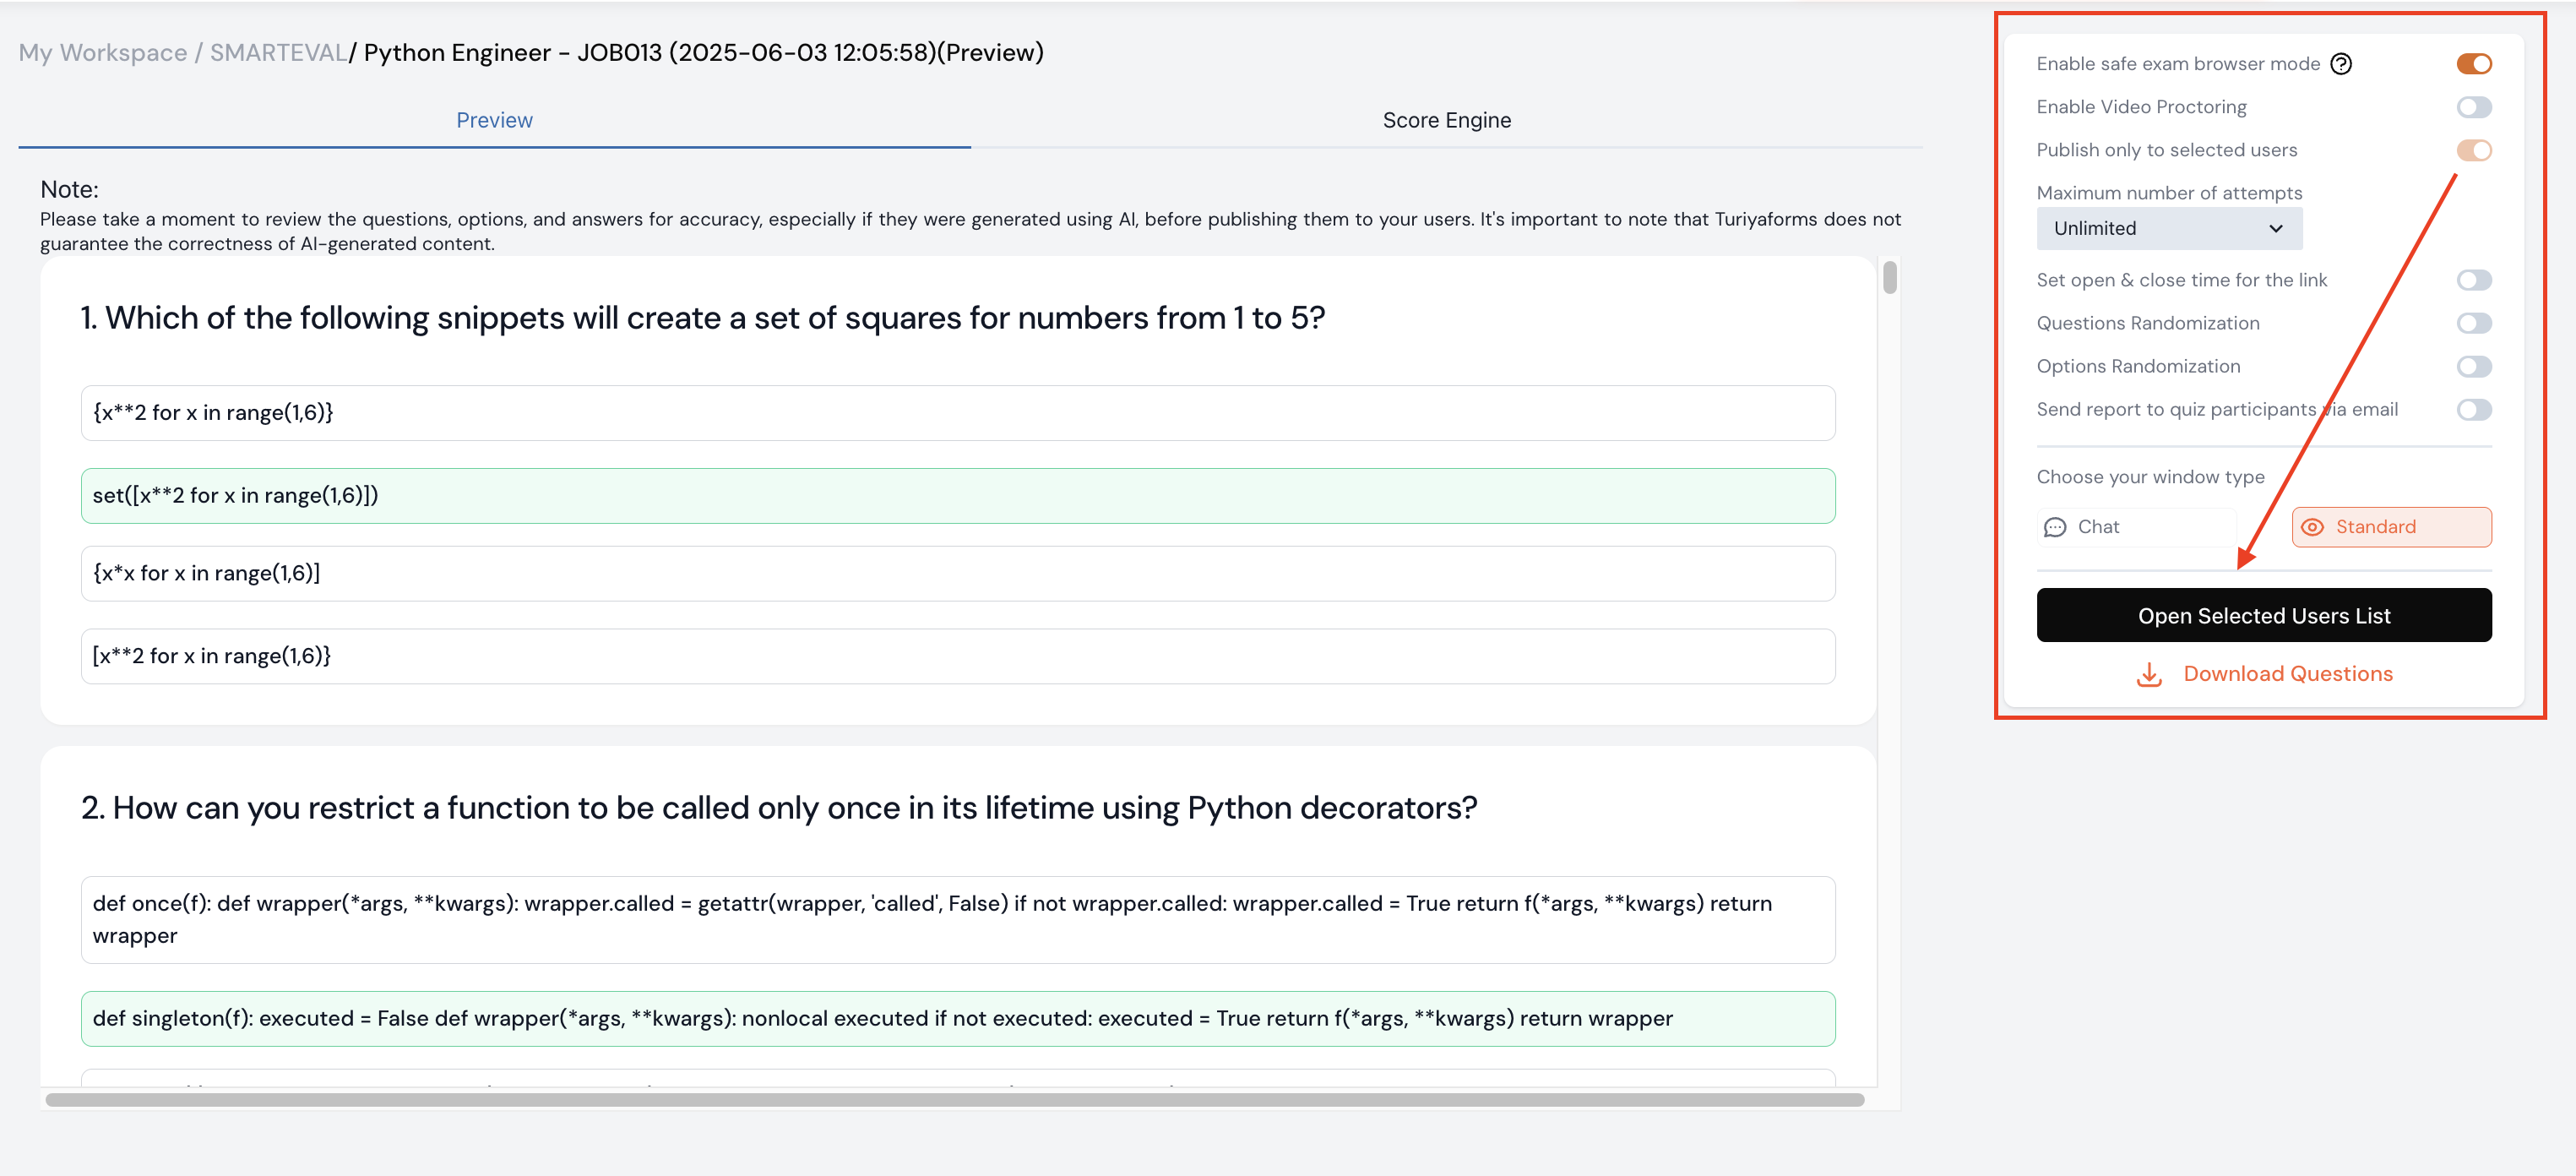
4. Publishing the Assessment to Shortlisted Candidates
- Configure assessment settings such as:
- Enable/Disable Proctoring for remote monitoring.
- Number of Attempts Allowed.
- Assessment Link Expiry Date.
- The system auto-generates an assessment link for each candidate.
- Click "Send Assessment Invitations" to email the assessment links to candidates.
5. Candidate Assessment Completion & Analytics Review
- Candidates receive an email with a unique assessment link.
- They complete the test as per the configured settings.
- The system updates the Assessment Response Status.
- Navigate to the Analytics Section to review:
- Candidate Scores
- Assessment Status (Completed/Pending)
- Skills Gap Analysis
- Use insights to make final hiring decisions.

This workflow ensures an AI-driven, automated, and efficient talent pipeline to filter, assess, and hire top candidates seamlessly. 🚀